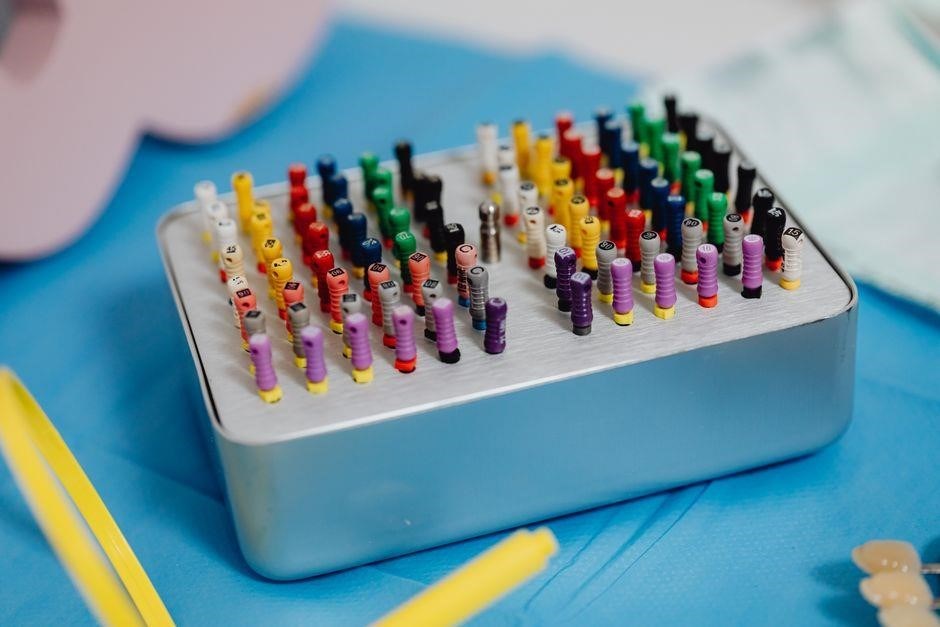
Rubber dam clamps secure the isolation device, ensuring a dry, contaminant‑free field for endodontic and restorative procedures. They come in various designs—single‑ or double‑arm, spring‑loaded or manual—each offering distinct advantages in fit, stability, and ease of use. Clinicians trust them daily
1;1 Definition and Clinical Significance
A rubber dam clamp is a small, precision‑engineered device that secures a rubber dam to a tooth or group of teeth, creating an isolated, dry operative field. The clamp typically comprises a metal or high‑strength plastic body, a jaw that grips the tooth, and a spring or manual lever that delivers a controlled bite force. Its primary function is to hold the dam in place while allowing the clinician to access the operative site without interference from saliva, blood, or debris. By providing a sealed environment, the clamp enhances visibility, improves the accuracy of instrumentation, and reduces the risk of cross‑contamination. In endodontics, a well‑positioned clamp permits unobstructed access to the root canal system, facilitates the use of rotary files, and ensures that irrigants and medicaments remain within the canal. In restorative procedures, the clamp protects the restoration from moisture contamination, guarantees proper bonding of composite materials, and allows for the use of high‑power curing lights without interference. The clamp’s design can be adapted to accommodate different tooth types, arch shapes, and patient anatomies, making it a versatile tool across a wide range of clinical scenarios.
- Seals the operative field from saliva and blood.
- Improves visibility and access to the tooth structure.
- Reduces the risk of cross‑contamination and infection.
- Facilitates accurate placement of instruments and materials.
- Enhances patient comfort by minimizing gag reflex.
- Allows for use of high‑power curing lights without interference.
The clamp’s reliable performance, coupled with its ergonomic design, makes it indispensable for modern dentistry, ensuring safe, efficient, and predictable procedures.
Its use is endorsed by the dental associations worldwide.
Classification of Rubber Dam Clamps
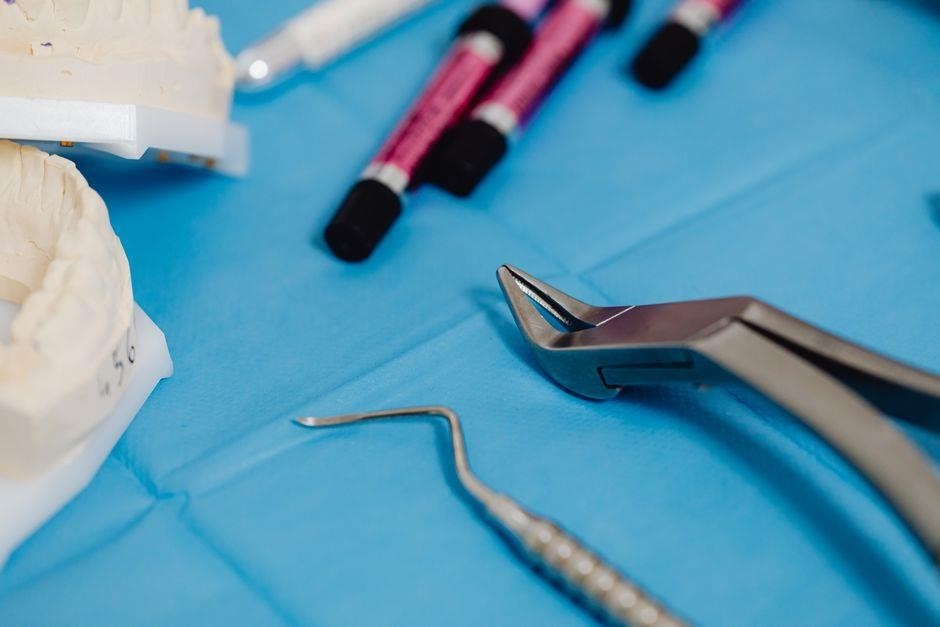
Clamps are grouped into conventional and modern categories. Conventional clamps rely on a simple jaw and spring mechanism, offering robust grip but limited adjustability. Modern clamps feature ergonomic designs, adjustable bite forces, and corrosion!!!?!
2.1 Conventional vs. Modern Designs
Conventional rubber dam clamps, often described as “classic” or “single‑arm” models, rely on a fixed jaw and a spring‑loaded latch to secure the dam. Their design prioritizes simplicity, durability, and cost‑effectiveness, making them a staple in many general dentistry practices. The clamp’s jaw is typically a single, rigid bar that grips the tooth or adjacent teeth, while a spring mechanism provides the necessary tension to hold the dam in place. These clamps are praised for their reliability in routine procedures, such as fillings and simple endodontic work, and they can be used with a wide range of dam materials. However, their fixed jaw geometry can limit adaptability to irregular tooth surfaces or patients with limited mouth opening, and the spring tension may be difficult to fine‑tune, potentially leading to patient discomfort or inadequate seal in challenging cases.
Modern clamp designs have evolved to address these limitations, incorporating adjustable jaw angles, ergonomic handles, and variable tension controls. Many contemporary models feature a two‑arm or “double‑jaw” configuration, allowing the operator to apply a more precise, evenly distributed force across the tooth or tooth cluster. Adjustable tension settings enable clinicians to tailor the clamp’s grip to the patient’s anatomy, reducing the risk of over‑tightening and improving comfort. Additionally, newer materials such as high‑strength polymers and stainless steel alloys reduce corrosion and increase longevity. Some modern clamps also integrate a quick‑release mechanism, facilitating rapid removal and minimizing chairside time. While the initial cost of these advanced clamps may be higher, the benefits in terms of patient comfort, procedural efficiency, and reduced risk of leakage often justify the investment, especially in complex restorative or endodontic cases. This improves patient care and outcomes
Material Composition and Properties
Rubber dam clamps are commonly made of stainless steel, aluminum, or polymers. Stainless steel offers durability and corrosion resistance, while aluminum offers lightness. Polymers reduce weight, though they may wear faster. Each material balances strength, weight, and cost, influencing clamp performance.
3.1 Common Materials and Their Advantages
Stainless steel remains the gold standard for rubber dam clamps, offering superior tensile strength, corrosion resistance, and longevity; Its high modulus of elasticity ensures a firm grip on the tooth, while the ability to withstand autoclave cycles makes it ideal for repeated use. Aluminum alloys provide a lighter alternative, reducing hand fatigue during extended procedures. Though slightly less rigid, they maintain adequate bite‑block stability and are less expensive, making them attractive for high‑volume practices. Polymer‑based clamps, such as polycarbonate or nylon composites, deliver the lightest weight and ergonomic comfort, minimizing patient discomfort and operator strain. However, polymers exhibit lower wear resistance and may deform under high‑temperature sterilization, limiting their lifespan. Composite materials that combine a metal core with a polymer coating aim to merge the strengths of both worlds, offering a durable core while reducing overall weight and improving tactile feedback. Choosing the appropriate material hinges on clinical demands, patient comfort, and cost considerations. Choosing wisely;!!
Laboratory testing confirms that stainless steel clamps retain tensile strength after 500 autoclave cycles, whereas aluminum alloys show a 5% reduction in stiffness. Polymer clamps, though lighter, require single‑use due to biofilm retention. Clinicians often balance cost, patient comfort, and procedural efficiency when selecting a clamp type. Choose wisely.!!
Selecting the Appropriate Clamp for a Patient
Choosing the right clamp hinges on tooth anatomy, patient comfort, and procedure type. For molars, a double‑arm clamp offers stability; single‑arm suits premolars. Consider patient gag reflex—lighter aluminum or polymer clamps reduce discomfort. Always match clamp size to tooth width. carefully.
4.1 Anatomical Considerations and Tooth Types
When selecting a rubber dam clamp clinicians evaluate tooth morphology, arch position, and surrounding soft tissues. Posterior molars, with wide occlusal surfaces and deep fissures, require double‑arm or spring‑loaded clamps that accommodate buccal and lingual walls. The jaws should avoid contact with the lingual frenum or buccal sulcus to prevent gag reflexes. Anterior incisors and canines have narrower buccolingual dimensions, making single‑arm clamps preferable. Incisors’ prominent cingulum allows a lingual placement, providing a stable seal while minimizing gingival pressure. Premolars often use a hybrid approach: a single‑arm clamp buccally and a small spring‑loaded clamp lingually, ensuring complete isolation without over‑tightening. Patient age and dentition status also influence clamp choice. Pediatric patients benefit from smaller, softer clamps, whereas elderly patients with periodontal recession require clamps with a wider contact area to avoid excessive pressure on exposed roots. The goal is an airtight, comfortable seal that considers tooth shape, oral anatomy, and the specific restorative or endodontic procedure, enhancing isolation quality and patient comfort.
Clinicians should also assess restorations caries or endodontic access cavities that alter tooth contour. A tooth with a large restoration may need a clamp with a broader jaw while a deep carious lesion requires a higher clamp placement to avoid the cavity. Gingival biotype influences clamp selection: thin biotypes favor softer, rounded jaws to prevent recession; thick biotypes tolerate rigid clamps. Hand size and dexterity also matter; hands may prefer double‑arm clamps whereas smaller hands favor single‑arm clamps for precision. Integrating these factors tailors clamp choice to each patient’s anatomy and procedure!!!
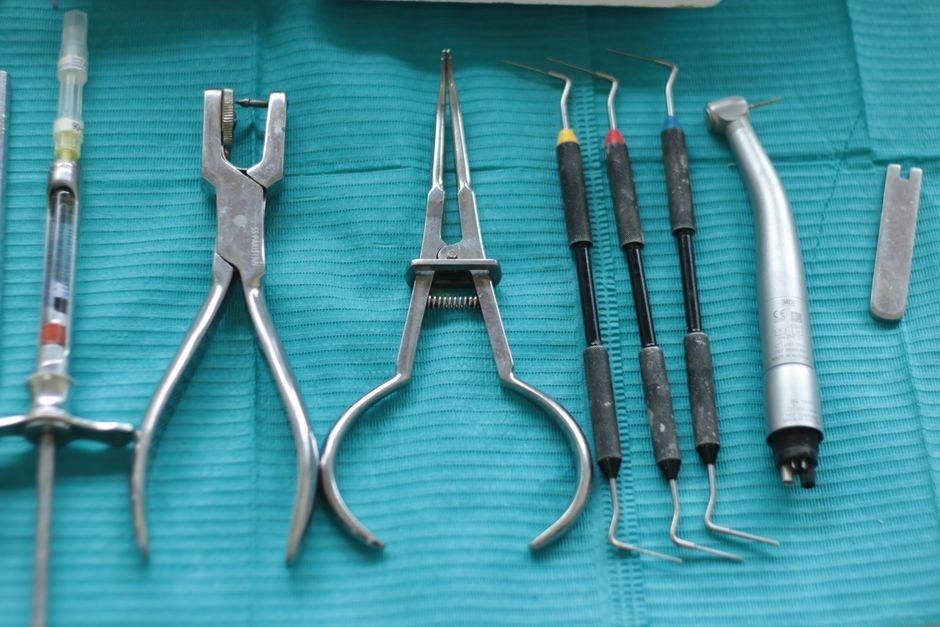
Step‑by‑Step Placement Technique
Begin by placing the clamp on the target tooth, ensuring the jaw engages the buccal and lingual walls. Secure the rubber dam sheet over the clamp, then cut the sheet to fit the arch. Use a bite block to maintain patient comfort, and verify a tight seal before proceeding. Adjust as needed, seal. OK
Proper bite‑block selection is critical for patient comfort and optimal clamp stability. Begin by choosing a block that matches the patient’s occlusal anatomy—typically a standard 12‑mm diameter, 10‑mm height block for adults, or a smaller 8‑mm variant for pediatric cases. Position the bite‑block on the contralateral molar or premolar, ensuring it contacts the occlusal surface without causing undue pressure on the opposing arch. The block should sit flush with the occlusal plane, allowing the patient to bite naturally while the clamp remains secure. Once the bite‑block is in place, instruct the patient to bite lightly, maintaining a relaxed jaw. Verify that the clamp’s arm engages the tooth’s buccal and lingual surfaces evenly, ensuring a balanced seal. Adjust the bite‑block if necessary, sliding it slightly lingually or buccally to achieve a balanced bite. During the procedure, monitor the bite‑block’s position. If the patient experiences discomfort or the block becomes dislodged, pause and reposition. A stable bite‑block not only protects the patient’s teeth and soft tissues but also facilitates a dry, isolated field, which is essential for accurate endodontic instrumentation and obturation. Remember to check the bite‑block’s integrity after each use, replacing any that show signs of wear or damage. Keep the bite‑block clean and dry. All. The bite‑block’s placement should be reassessed after each procedure to ensure optimal seal integrity and patient comfort. If the block is misaligned, repositioning may be required. Continuous monitoring reduces the risk of intra‑operative contamination and improves procedural efficiency. This practice enhances safety. Keep clean.
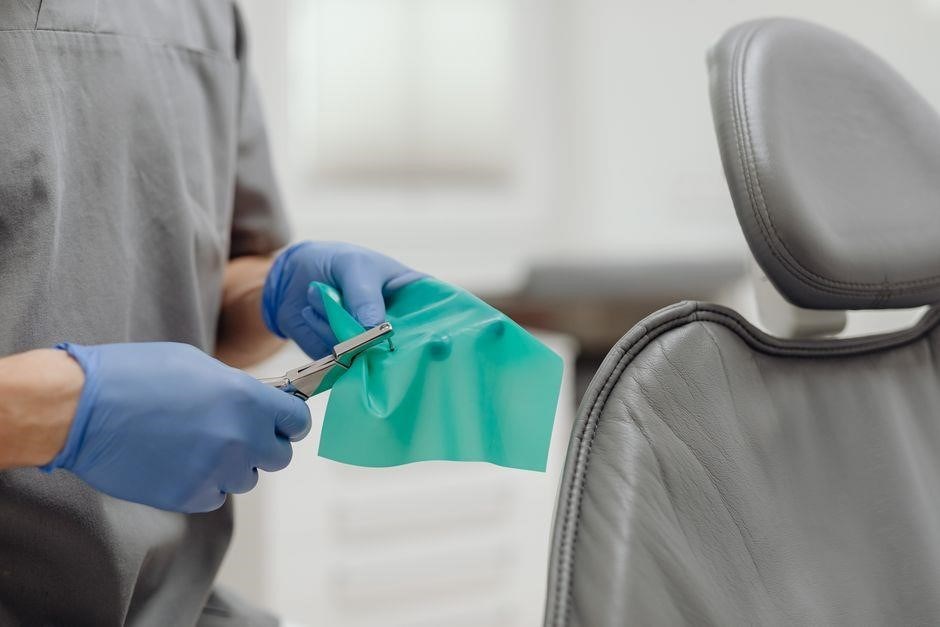
Troubleshooting Common Placement Issues
When a clamp slips, check tooth isolation and adjust the arm angle. Tighten the screw slowly, ensuring a snug fit. If leakage persists, try a different clamp size or switch to a double‑arm design. Keep the rubber dam snug and re‑seal after each adjustment. Use a firm grip to maintain stability. gently
6.1 Addressing Improper Seal and Leakage
When a rubber dam fails to seal, begin by confirming clamp fit. Measure the tooth’s buccal and lingual dimensions, then select a clamp whose arm length and width match those measurements. A double‑arm clamp can distribute pressure more evenly on curved surfaces. Tighten the screw gently, checking the seal after each adjustment; over‑tightening cracks the sheet, under‑tightening leaves gaps.
Inspect the dam sheet for tears, folds, or uneven edges. Re‑cut with a sharp scalpel, ensuring a clean margin that conforms to the tooth outline. Apply a thin coat of dental wax or silicone sealant along the perimeter before placement; this micro‑seal bridges minor gaps. If the sheet is thin or brittle, replace it with a thicker, high‑strength material such as silicone or acrylic.
Check the bite block position. It must be placed so the patient’s bite is stable and the clamp is fully engaged. An improperly positioned bite block can shift the clamp during the procedure, compromising the seal. Adjust the bite block for a comfortable, even bite, and re‑check the clamp’s position immediately after placement.
If leakage persists, reinforce the seal with a secondary clamp or a rubber dam holder. Some clinicians use a “sandwich” technique, placing a second clamp on the opposite side of the tooth to create a double barrier. Keep the mouth dry with suction or a high‑volume evacuator to reduce pressure differential that forces fluid through gaps.
Continuously monitor the seal during treatment. Re‑tighten the clamp whenever the patient moves or the clamp appears to shift. If leakage remains despite these measures, reassess the tooth’s anatomy—root resorption, large caries, or a fractured tooth may prevent a proper seal. In such cases, alternative isolation methods such as a glass‑ionomer sealant or a custom acrylic dam may be necessary. By following these systematic steps, clinicians can eliminate improper seal and leakage, ensuring a dry, sterile field for optimal procedural outcomes.
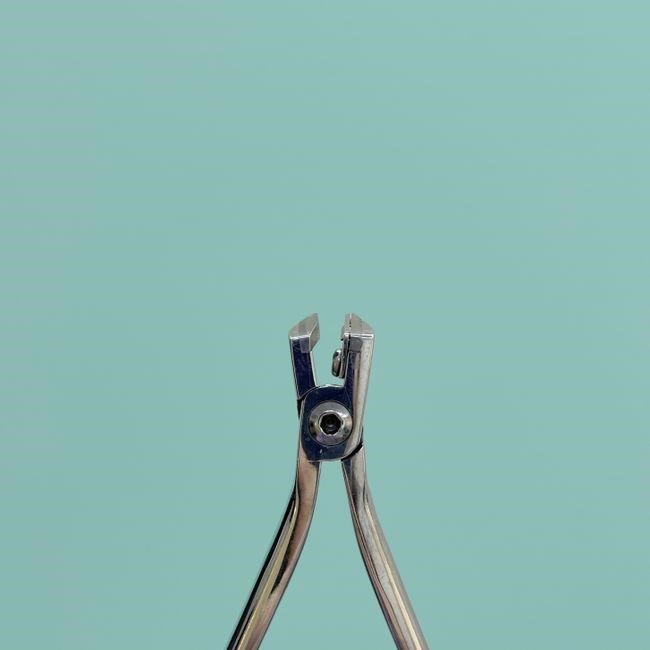
In addition, verify that the rubber dam sheet is free of micro‑cracks before use; a single hairline fracture can become a leak point under pressure. Use a magnifying loupe to inspect the sheet for imperfections. If a crack is detected, discard the sheet immediately. Also, ensure that the clamp’s screw is not cross‑threaded; a loose thread can cause the clamp to loosen during the procedure. Finally, document any adjustments made so that future treatments can replicate the successful seal. This saves time.
Care, Maintenance, and Sterilization Protocols
Clean clamps with mild detergent, rinse, and dry. Store in a sealed container to prevent dust. Autoclave at 121°C for 15 min or use chemical sterilizer per manufacturer. Inspect for cracks before reuse. Handle with care to avoid deformation.!!
7.1 Storage, Reuse, and Infection Control
Proper storage of rubber dam clamps is critical for longevity and patient safety. After each use, clamps should be rinsed with lukewarm water and a mild, non‑ionic detergent to remove saliva, blood, and debris. Avoid harsh chemicals that can degrade the polymer or metal components. Once rinsed, clamps must be thoroughly dried with a lint‑free cloth or compressed air to prevent moisture retention, which can foster bacterial growth. Store the clamps in a dedicated, sealed container—preferably a plastic or metal box with a tight lid—to protect them from dust, contaminants, and accidental damage. Label the container with the date of last sterilization and the batch number for traceability. Reuse of rubber dam clamps is permissible only if the clamps remain in good condition. Inspect each clamp for signs of wear such as cracks, deformations, or corrosion. Discard any clamp that shows irreversible damage or that has been exposed to a known contamination event. For reusable clamps, a single cycle of sterilization is recommended. Autoclaving at 121 °C for 15 minutes with a 15‑minute dry cycle is the gold standard for metal and polymer clamps. If the clamp is made of heat‑resistant polymer, a chemical sterilizer (e.g., glutaraldehyde 2 %) or peracetic acid 0.2 %) can be used following the manufacturer’s guidelines. Ensure that the sterilization cycle achieves a 6‑log reduction of bacterial spores. Infection control protocols demand that all clamps be handled with gloved hands and that no contact with the patient’s oral cavity occurs outside the intended isolation. After sterilization, clamps should be stored in a sterile environment until use. Check. OK